Getting started guide
This getting started guide covers the basic actions to start using the public Orangebeard cloud environment at https://app.orangebeard.io. For private cloud environments, please refer to support@orangebeard.io for any questions.
Creating an account & Logging in
Getting started with Orangebeard is straightforward. Anyone with a Google, GitHub or Microsoft account can log in. The first login automatically sets up your Orangebeard account and redirects you to the user account page.
Creating an organization
From the user account page, navigate to the Organizations tab. On this tab, you will find the option to create your own
Orangebeard organization, or accept an invitation for another organization.
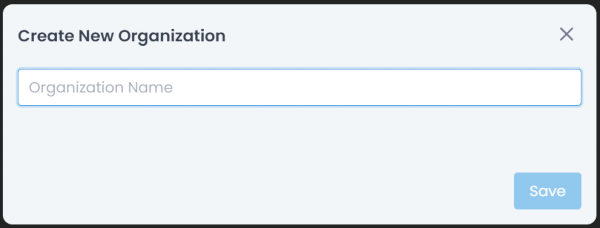
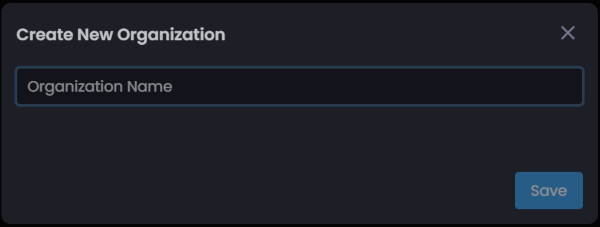
To create an organization, click the New Organization button. A dialog will appear where the organization name can be
configured. Organization names may contain lowercase letters, digits, hyphens, underscores and dots.
Enter a valid organization name and press the Save button to create the organization. The account used for creation will be
initially set as the organization owner.
Inviting new users
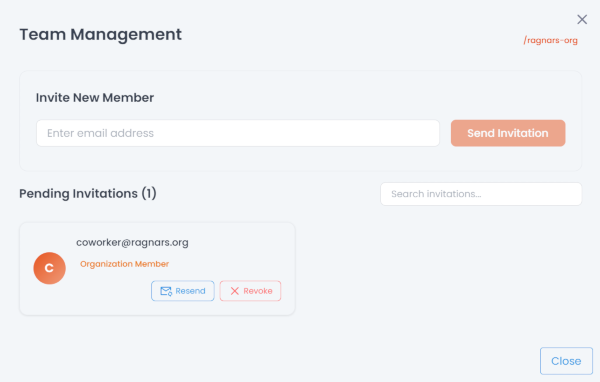
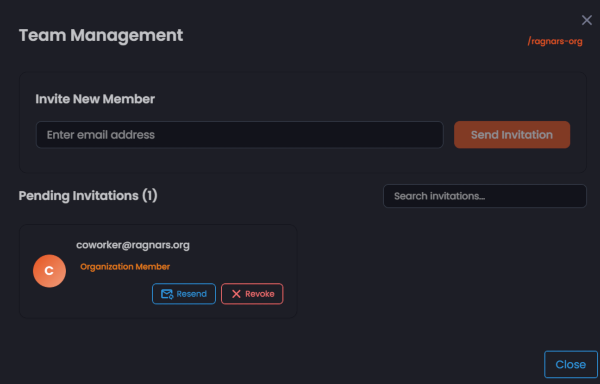
To invite a user, click the Invites button for the organization you manage.
From there, enter an email address to send an invitation. The invite is displayed in the invites overview, from where it can also be revoked.
Accepting an invite / Join organization
When a user is invited to an organization, the user can accept the invite by logging in with the same e-mail address that was used
for the invite. After logging in, the invite is displayed on that user's Organizations tab in the Pending invitations section.
To accept the invite, click Accept to join the organization.
Creating a project
Organization owners and admins can create projects within an organization.
To create a project, click the Projects button for the active organization. This will open the All projects page.
To create a project, click the New project button. A dialog will appear where the project name can be configured.
Project names, like organizations, may contain lowercase letters, digits, hyphens, underscores and dots.
Enter a valid project name and click the Create button to create the project. The project appears on the All projects tab.
Adding a user to a project
To assign a new user to your project, navigate to Project Management and press the Assign user button in the top right.
The user assignment modal window will be displayed. This modal window has a search box to find users by name or e-mail
address and shows a list of matching users to select from.
When a user is selected, it can be assigned to the project using the Assign button.
For more information on Project Management, visit the Project Settings Docs
Reporting your first test run
To connect your first test run, follow one of the guides in Connecting Test Tools:
Next steps
Creating a workspace
If you use multiple projects in your organization, you can create a multi-project overview by defining a workspace.
Workspaces can be created by organization administrators and owners. For more information, see:
Workspaces in the Organization Settings.
Configure a defect registration system
To automatically send registered defects to your defect management system, configure a defect registration integration
Configure a webhook
To inform other systems of test run events, you can configure webhooks (per project). For more information, see: Webhooks in the project management docs
Help & Support
Need help? We're here for you. Drop us an email at support@orangebeard.io and we'll help you out!
 Ask Orangebeard